The "Overcoming the Bad Spawn" thread got me thinking, we should have these map breakdowns that allow people to post strategies and spots to help their fellow 30s, both when we play together and when we play randoms. So without further ado...
Arkaden
The
BLUE spawn is SAS, The
RED spawn is Spetznas.
YELLOW highlights are what I've designated control areas, which is fancy talk for camp spots.
This is set up for domination because that's what I play 99% of the time.
BEST SPAWN: SAS or the A spawn. Like most CoD maps who ever starts with the high ground has the advantage. Both of my control areas allow for two players on the team to both hold down two flags with relatively little exposure. There is no such spot for the B/C combination.
SPOT #1: The Catwalk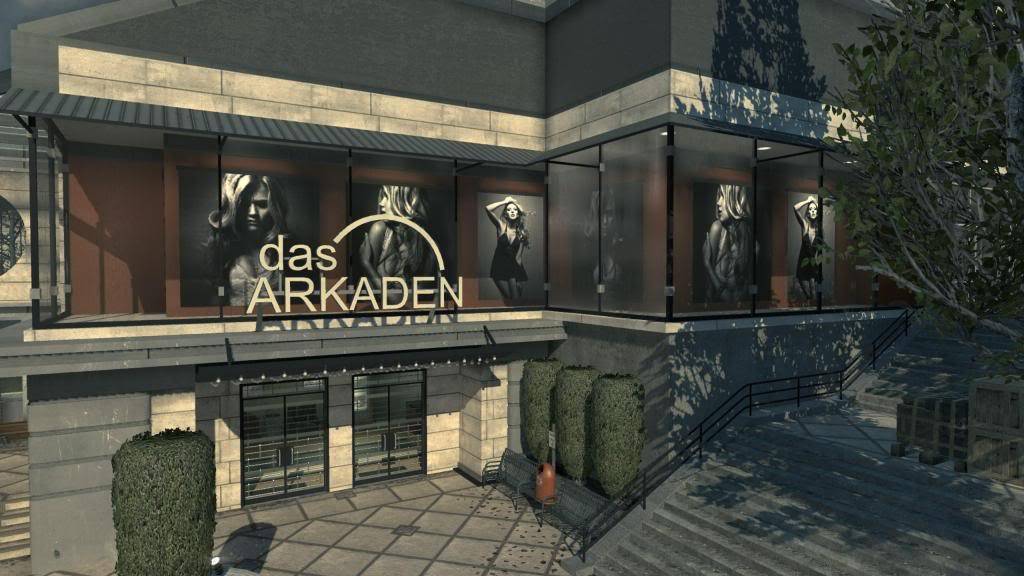
Preferred setup: A silent weaponthat is accurate at medium to long ranges (type 95, mk14, acr), a tactical insert, and the specialist strike package with scavenger.
This spot is the best spot in the map, maybe in any map in the game. You can easily cover A and B and if you start taking fire you can back out around a corner and heal up. The only exposure is from the SAS spawn point which should rarely be of any concern. When I play this spot I like to move back and forth fairly constantly but most of my attention stays on B since the A flag is behind you and acts like a portable radar/alarm that will alert you to any enemies sneaking up from behind. The tactical insert isn't necessary since it's not a hard spot to get to, but it's helpful if someone does kill you at A so you can spawn back in and protect the flag.
SPOT #2: The Bar
Preferred setup: Whatever you want as a primary, most of your shots will be close to medium range, with a little long range protecting A. Again, I'd recommend bringing a tactical insert and setting it outside the bar, near the SAS spawn. I'd also recommend the XM25...details on that in a second.
This spot is also great. It's fairly difficult to be seen, let alone hit. You can watch about 90% of B and you can keep an eye on A, especially on any enemies who try and take A standing up. Plus this is the best defense spot against The Catwalk because of the windows at the top of the walls. So why the XM25? The XM25 is the semi-auto grenade launcher that allows you to set a detonation range. Very few people use it because grenades take 2-3 kills to do the job, but it's very helpful in playing defense. Not only does it allow you to slam B with grenades for the small areas you can't see from behind the bar, you can also set a distance over A and airburst grenades over people taking A. Plus the XM25 is just fun to play with.
Bonus Spot: The Kasimira Perfume Shop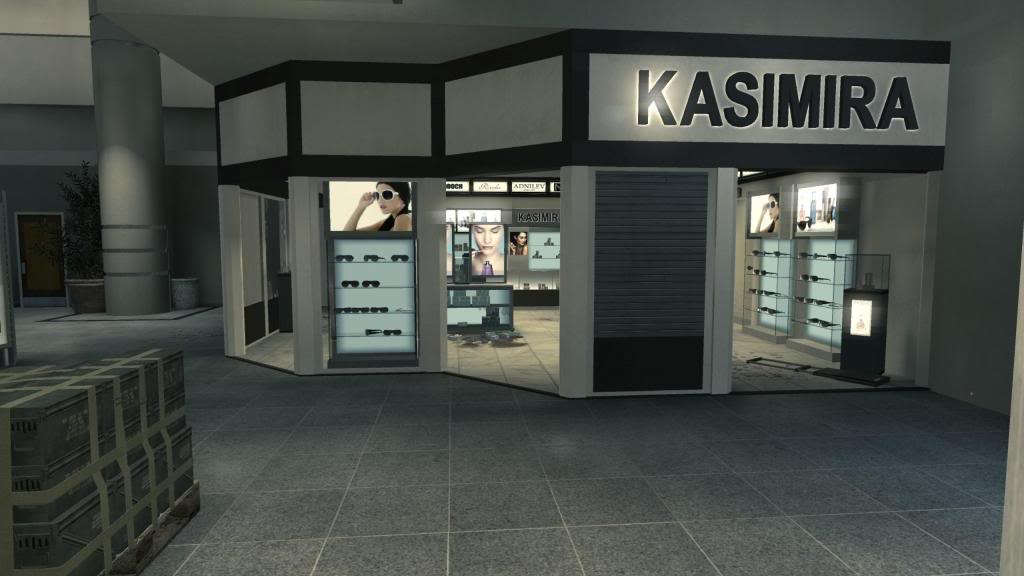
This store gets ignored by most people as most people who go through the upper floor of the mall are only interested in watching the windows over B (bad idea, very easy to get killed at those windows) or passing through on their way to A or C. Kasimira allows you to take down people coming from A (if you're having trouble taking it) and you also have good cover on the people coming from C. The downside to this spot is you're really just camping because you're not defending any flags and really doing nothing but inconveniencing the other team.
Overcoming the bad spawnLike I said the Spetznaz, or C spawn, is the bad one in this map. Here's what I recommend is done:
-Go ahead and take C. You spawn close enough that you're going to have to pass it and if 6 guys grab it, it takes next to no time. Plus if something goes wrong for some reason you still have a flag and aren't getting put in a giant points hole
-6 man rush the second floor of the mall. The other team is going to have 2, 3 players max, go through the mall which should easily be overrun by the 6 man rush. Go straight to A and capture it.
-Use The Catwalk and The Bar to hold A and push on B.
-Win.
So that's my strategy and spots. Of course the whole point of this thread is to discuss the map and the strategy so feel free to post ideas and screenshots and stuff so we can dominate this map. I'll try and post these with some regularity.